Start Your Style Journey!
DIY Slit for Dresses—No Sewing Needed
Elevate your dress game effortlessly—no sewing required.
A slit adds flair, enhances movement, and instantly upgrades your dress from simple to standout.
Whether you’re refreshing an old favorite or customizing a new piece, a no-sew slit offers an easy, stylish solution that doesn’t require a sewing machine or tailoring experience.
Understanding Dress Slits
Adding a slit to your dress isn’t just about style—it’s about function too.
A well-placed slit can enhance mobility, add flair, and instantly modernize your outfit. It’s a small detail that creates a big impact.
Types of Dress Slits you can consider:
- Side Slit: Perfect for maxi dresses and skirts, a side slit offers ease of movement and a touch of casual elegance.
- Front Slit: Want to make a bold statement? A front slit draws attention and adds a confident, stylish edge to your look.
- Back Slit: Often seen in pencil skirts and fitted dresses, a back slit provides extra comfort while maintaining a polished, professional appearance.
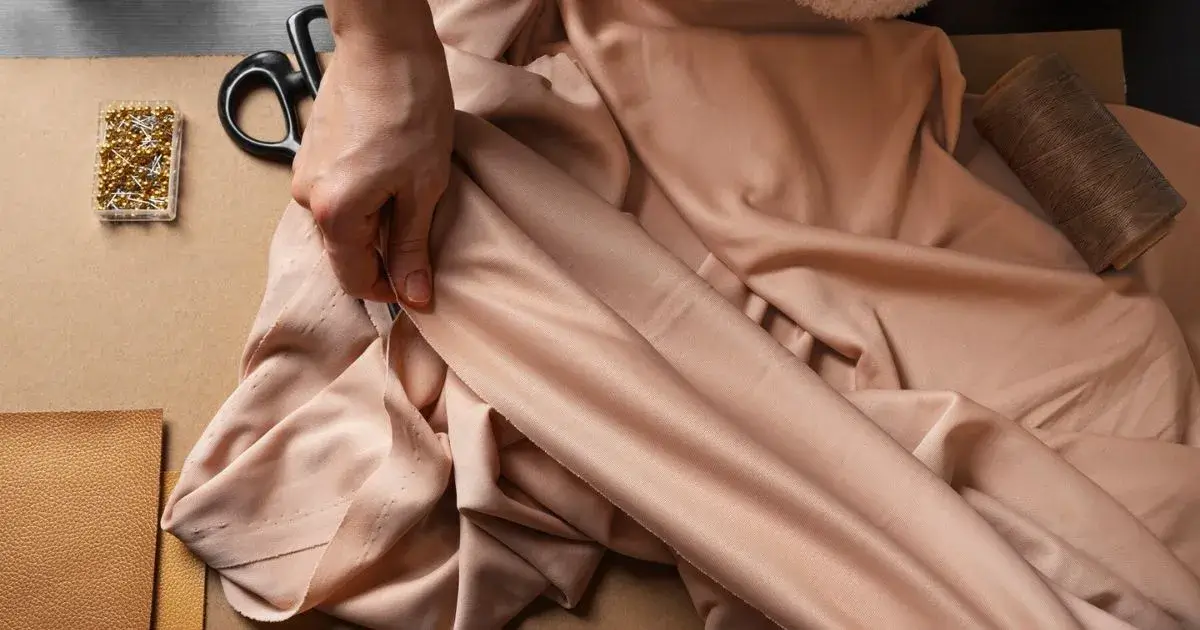
Materials You’ll Need
Before you begin, having the right materials on hand is key to achieving a clean, professional-looking slit—no sewing machine required.
Tools:
- Sharp fabric scissors: For a clean, precise cut without fraying.
- Measuring tape: To ensure your slit is placed and sized perfectly.
- Tailor’s chalk or washable fabric marker: Helps mark the exact line where you’ll cut, with no lasting marks.
- Iron (optional): Useful for setting adhesive tape securely or flattening the fabric for easier cutting.
No-Sew Adhesives:
- Fabric glue (such as Aleene’s Fabric Fusion): Provides a strong, flexible bond that moves with your fabric.
- Iron-on hem tape (like Dritz Stitch Witchery): Ideal for securing the edges without stitches.
- Double-sided fashion tape: Best for quick fixes or temporary slits, especially if you’re styling for a single event.
Tip: Investing in quality materials ensures your DIY slit looks polished and holds up through multiple wears.
Step-by-Step Guide to Adding a Slit Without Sewing
Creating a no-sew slit is easier than you think—just follow these precise steps for a clean and stylish result.
Step 1: Try On and Mark
Put on the dress and stand in front of a mirror. Decide how high you want the slit to go—this is all about comfort and style.
Use tailor’s chalk or a washable marker to draw a straight line from the hem upward, marking where your slit will start and stop.
Tip: Walk, sit, and move a bit while trying it on to ensure the slit won’t be too revealing or restrictive.
Step 2: Prepare the Dress
Lay the dress flat on a clean, smooth surface—preferably a large table or freshly vacuumed floor.
Make sure the fabric is wrinkle-free and fully aligned so your cut is straight and symmetrical.
Step 3: Cut the Slit
Using sharp fabric scissors, carefully cut along your marked line. Take your time—precision matters here.
If you’re working with a delicate or fray-prone fabric like chiffon or satin, apply fray check or fabric sealant to the raw edges to prevent unraveling.
Step 4: Secure the Edges
Once you’ve cut the slit, it’s time to finish the edges to keep your dress looking clean and polished.
Here are three proven, no-sew methods—choose the one that best suits your fabric and how permanent you want the slit to be.
Option A: Fabric Glue
For a long-lasting, flexible hold:
- Apply a thin, even line of fabric glue along each raw edge.
- Carefully fold the edge inward (about ¼ inch) and press it flat.
- Let it dry fully according to the glue’s instructions before wearing or washing.
Best for: Most fabrics including cotton, jersey, and polyester blends.
Option B: Iron-On Hem Tape
For a neat, durable edge with minimal mess:
- Place iron-on hem tape along the raw edge.
- Fold the fabric over the tape to hide the cut edge.
- Press with a hot iron (no steam) for 10–15 seconds until the adhesive sets.
Best for: Structured or medium-weight fabrics like denim, rayon, or linen.
Option C: Double-Sided Fashion Tape
Perfect for temporary or last-minute fixes:
- Stick double-sided fashion tape along the inside edge of the slit.
- Press the fabric down to secure the fold.
- Remove after wear—no residue or damage.
Best for: Temporary slits or styling tweaks before an event.
Tips for a Professional Finish
Even without sewing, you can make your dress look like it came straight from a designer rack.
Here’s how to elevate your DIY slit with a polished, lasting finish.
Fabric Considerations
Not all fabrics behave the same—understanding your material helps avoid mistakes.
- Lightweight fabrics like chiffon or silk can fray easily. Handle gently, use sharp scissors, and consider applying a fabric sealant or fray check before gluing or taping.
- Heavier fabrics such as denim or wool require stronger adhesives or reinforced bonding with iron-on tape. Press firmly and allow full setting time for durability.
Length and Placement
Where and how long you cut the slit matters—both in style and wearability.
- Avoid slits that go too high or cut through key seams that may weaken the dress’s structure.
- Before finalizing, test walking, sitting, and stretching to ensure the slit allows natural movement without compromising modesty or comfort.
Styling Your New Slit Dress
Now that you’ve added a chic slit, it’s time to make it shine. A well-placed slit doesn’t just change the dress—it transforms the whole outfit.
Here’s how to style it for maximum impact.
Footwear
The slit draws the eye down, so make your footwear count.
- Heels elongate the legs and enhance the dramatic effect of the slit.
- Boots—especially ankle or knee-high—add edge and structure, perfect for fall or winter looks.
Accessories
Balance the boldness of a slit with the right accents.
- A statement belt can cinch the waist and add definition.
- Bold jewelry—think chunky earrings or layered necklaces—completes the look without overpowering it.
Layering
Slits work year-round with the right outerwear.
- Denim jackets, blazers, or cozy cardigans give your outfit dimension and versatility, perfect for transitioning from day to night.
Pro tip: Keep the rest of your look streamlined so the slit remains the focal point.
Conclusion
Adding a slit to your dress without sewing is a smart, stylish way to breathe new life into your wardrobe—no needle or thread required.
With the right tools, a steady hand, and a few no-sew tricks, you can create a clean, polished look that feels tailor-made.
So go ahead—embrace your creativity, elevate your style, and explore dress customization at home to turn your dresses into custom pieces with confidence.